
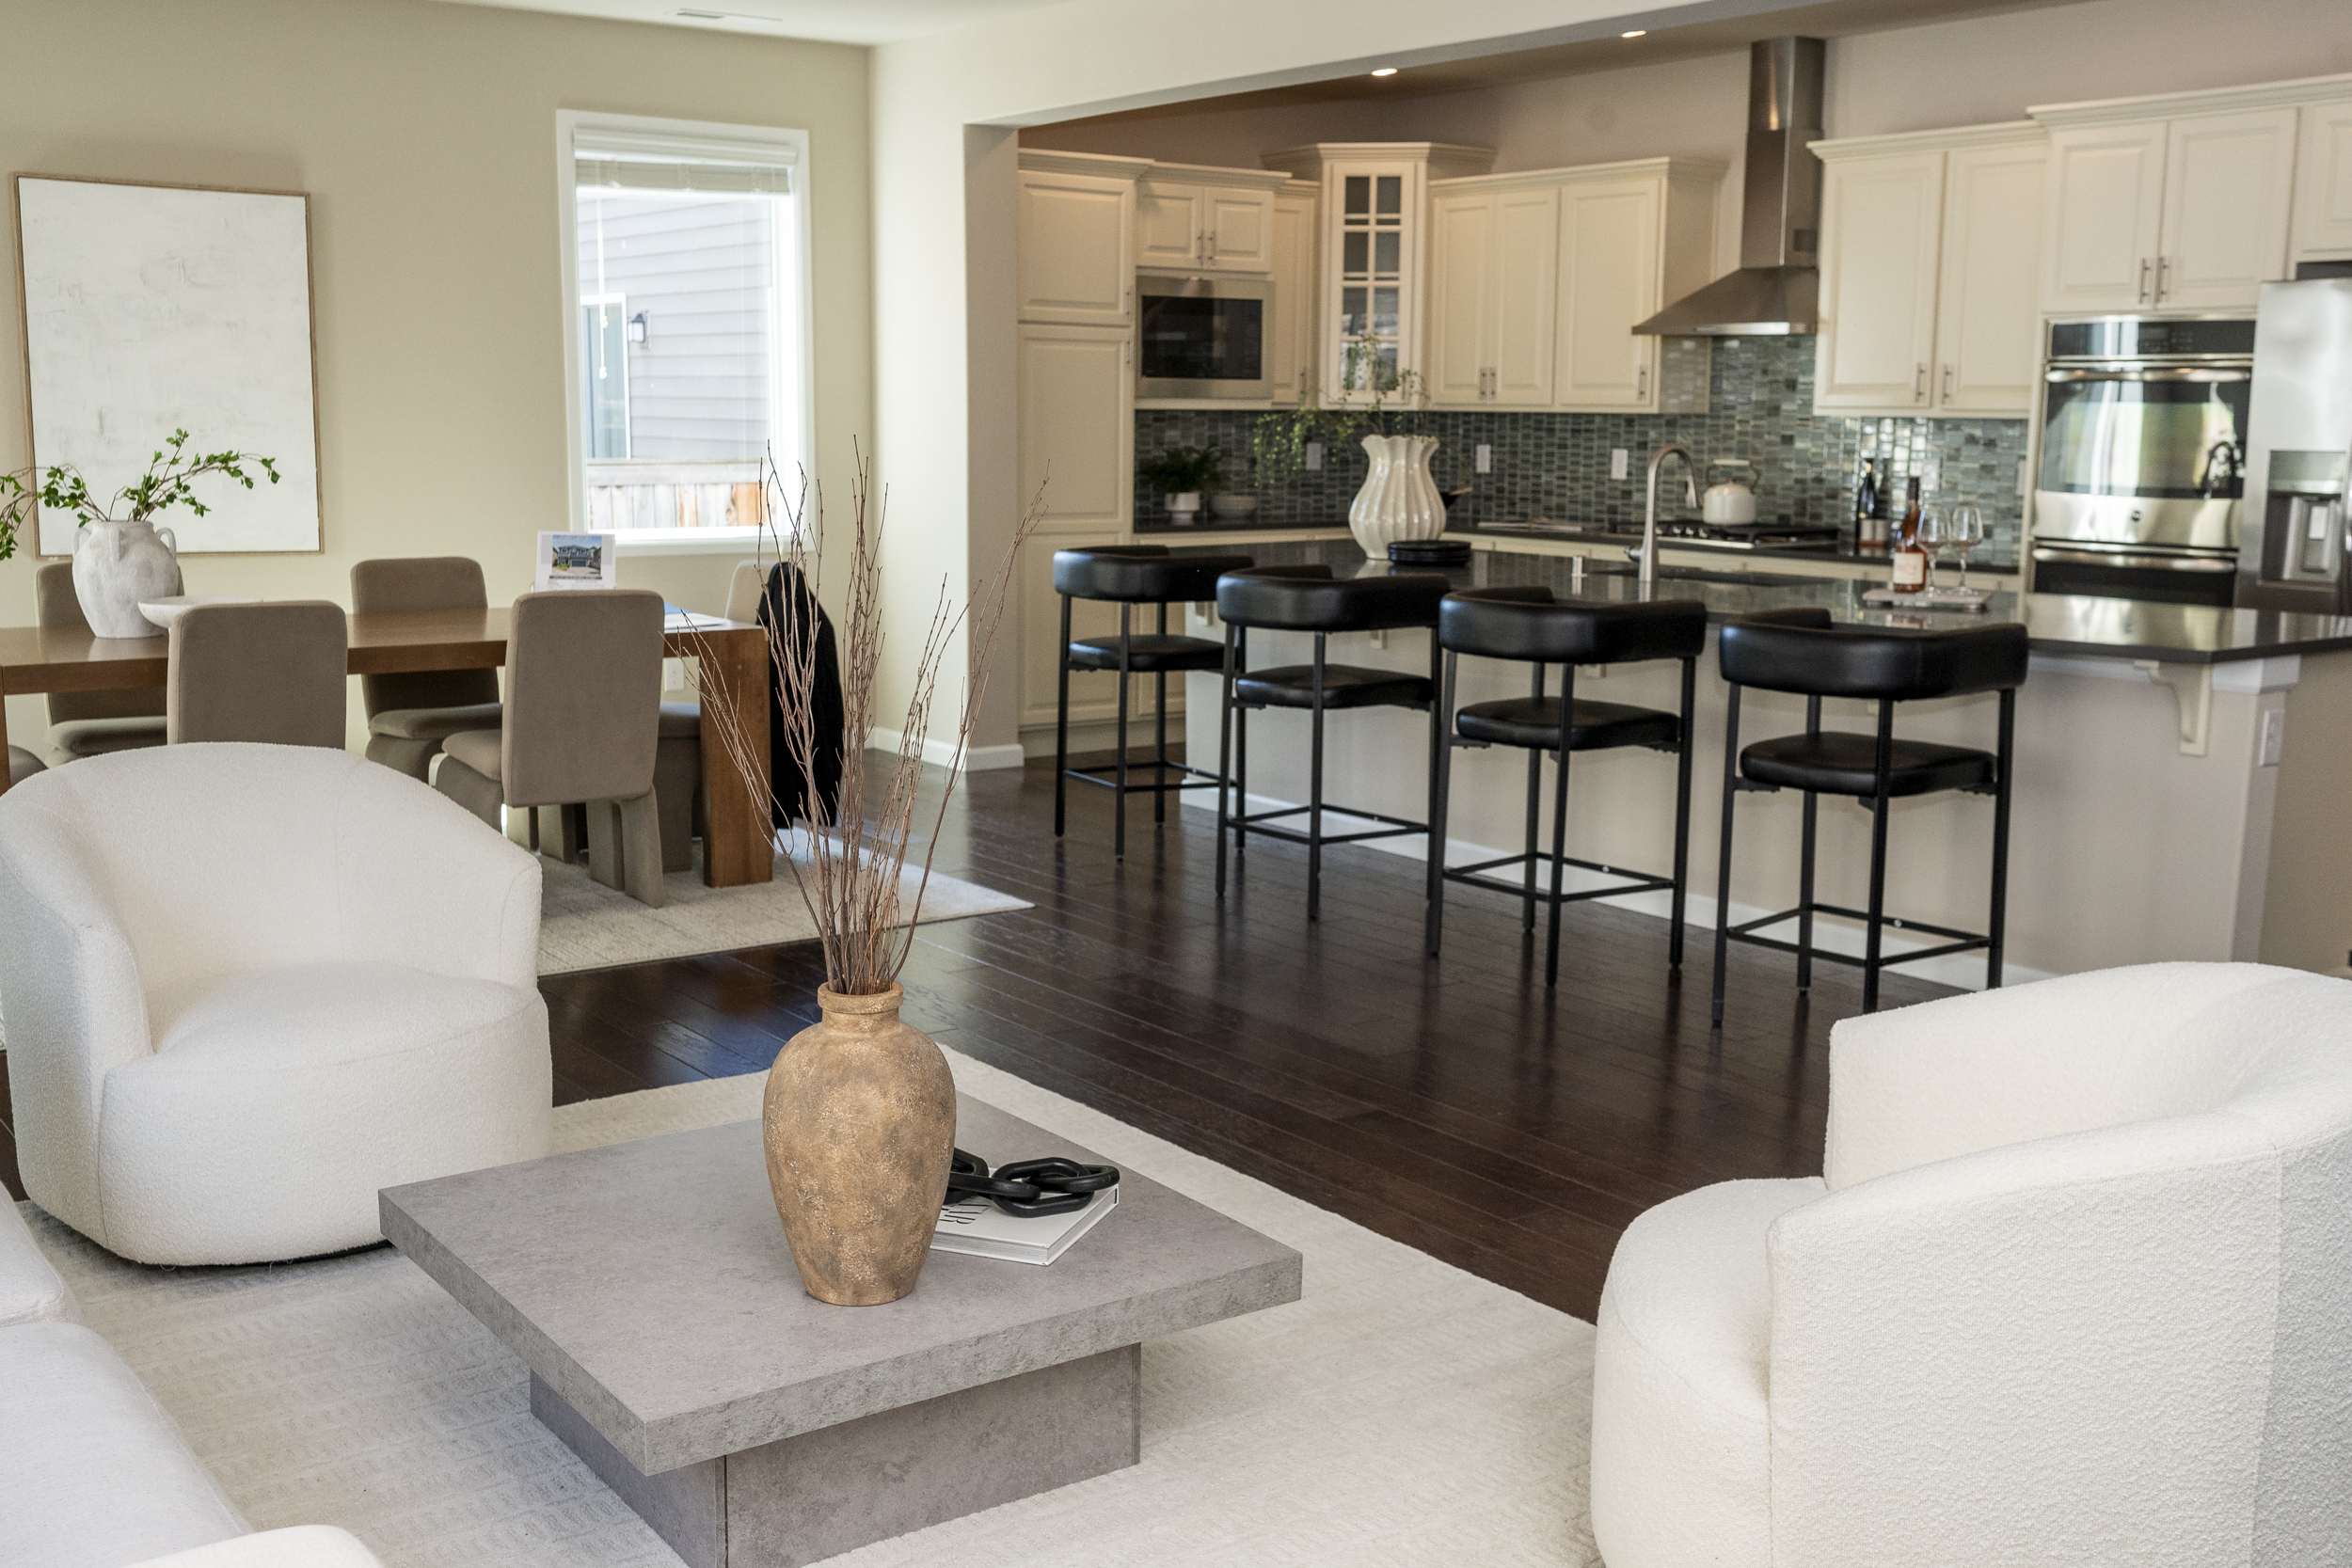
Prepare connected rooms together so the photographs show how the spaces relate.
Listing photos work best when the home is ready before the photographer arrives. Cleaning, moving furniture, and finding somewhere for pets to stay can take longer than expected, especially when you are still living in the property.
Agree on the photography plan with your broker first. Then work through the rooms and outdoor areas that will be photographed. The aim is to show the home clearly and accurately, with enough preparation that the photographer can spend the appointment making photographs.
This checklist covers presentation and access. Repair decisions, seller disclosures, and pricing need their own conversations.
Photo day checklist
Use this list for a final pass, with the room-by-room guidance below for details.
Confirm the appointment, included rooms, and access arrangements with your broker.
Clean visible surfaces and put away dishes, laundry, and unnecessary counter items.
Remove personal documents, medications, visible passwords, and identifying information.
Make beds and check the furniture layout and walking routes.
Check working lights and ask how window coverings should be arranged.
Tidy the entry and outdoor areas; agree where vehicles and bins should go.
Arrange a safe place for pets and confirm where occupants will be during the appointment.
Check mirrors and finish a final pass before the photographer arrives.
Confirm the schedule and rooms before you start
Ask your broker what the appointment includes. Interior photography, exterior photographs, floor-plan measurements, and video may need different preparation or access. Confirm which spaces will be included and whether the photographer wants particular lights or window coverings arranged in advance.
Discuss the conditions at your home. A dark room, a view that matters, or an exterior affected by weather may influence the plan. Let the photographer advise on timing rather than choosing an appointment only because it fits the cleaning schedule.
If tenants or other occupants are involved, work through the broker to arrange access and any required notice. Confirm who will open the property, handle pets, and respond if an appointment changes.
Walk through the home with a phone camera
Stand near the doorway of each room and take a quick reference photograph. Look at the result for items you stop noticing in daily life: charging cables, a crowded counter, packaging beside a chair, or furniture blocking the route between rooms.
These reference pictures are a way to plan your work, not a substitute for the listing photographs. Use them to make a short list for each room so you can finish one space before moving to the next.
Start with cleaning and unnecessary items. Ask your broker about furniture changes before moving heavy pieces or renting storage. The amount of staging a home needs depends on its layout and the belongings already there.
Prepare the kitchen and bathrooms
In the kitchen, clear food packaging, dishes, cleaning products, and most small appliances from visible surfaces. Wipe the counters and cabinet fronts. Remove refrigerator notes that show names, schedules, or other personal information.
Keep enough context for the room to look usable. A carefully placed bowl or everyday item may be appropriate; a completely bare room is not automatically the best choice. Follow the agreed styling plan rather than adding decorations at the last minute.
In bathrooms, clean mirrors and fixtures, put away toiletries and medications, and remove wet towels and laundry. Check what the mirror reflects. An item hidden behind the photographer's position may still appear in the image.
Give living areas and bedrooms a clear layout
Arrange seating so the room's function and walking routes are easy to understand. Clear excess items from coffee tables and open shelves. Straighten cushions and rugs, and check that furniture does not block doors or make a passage look unusable.
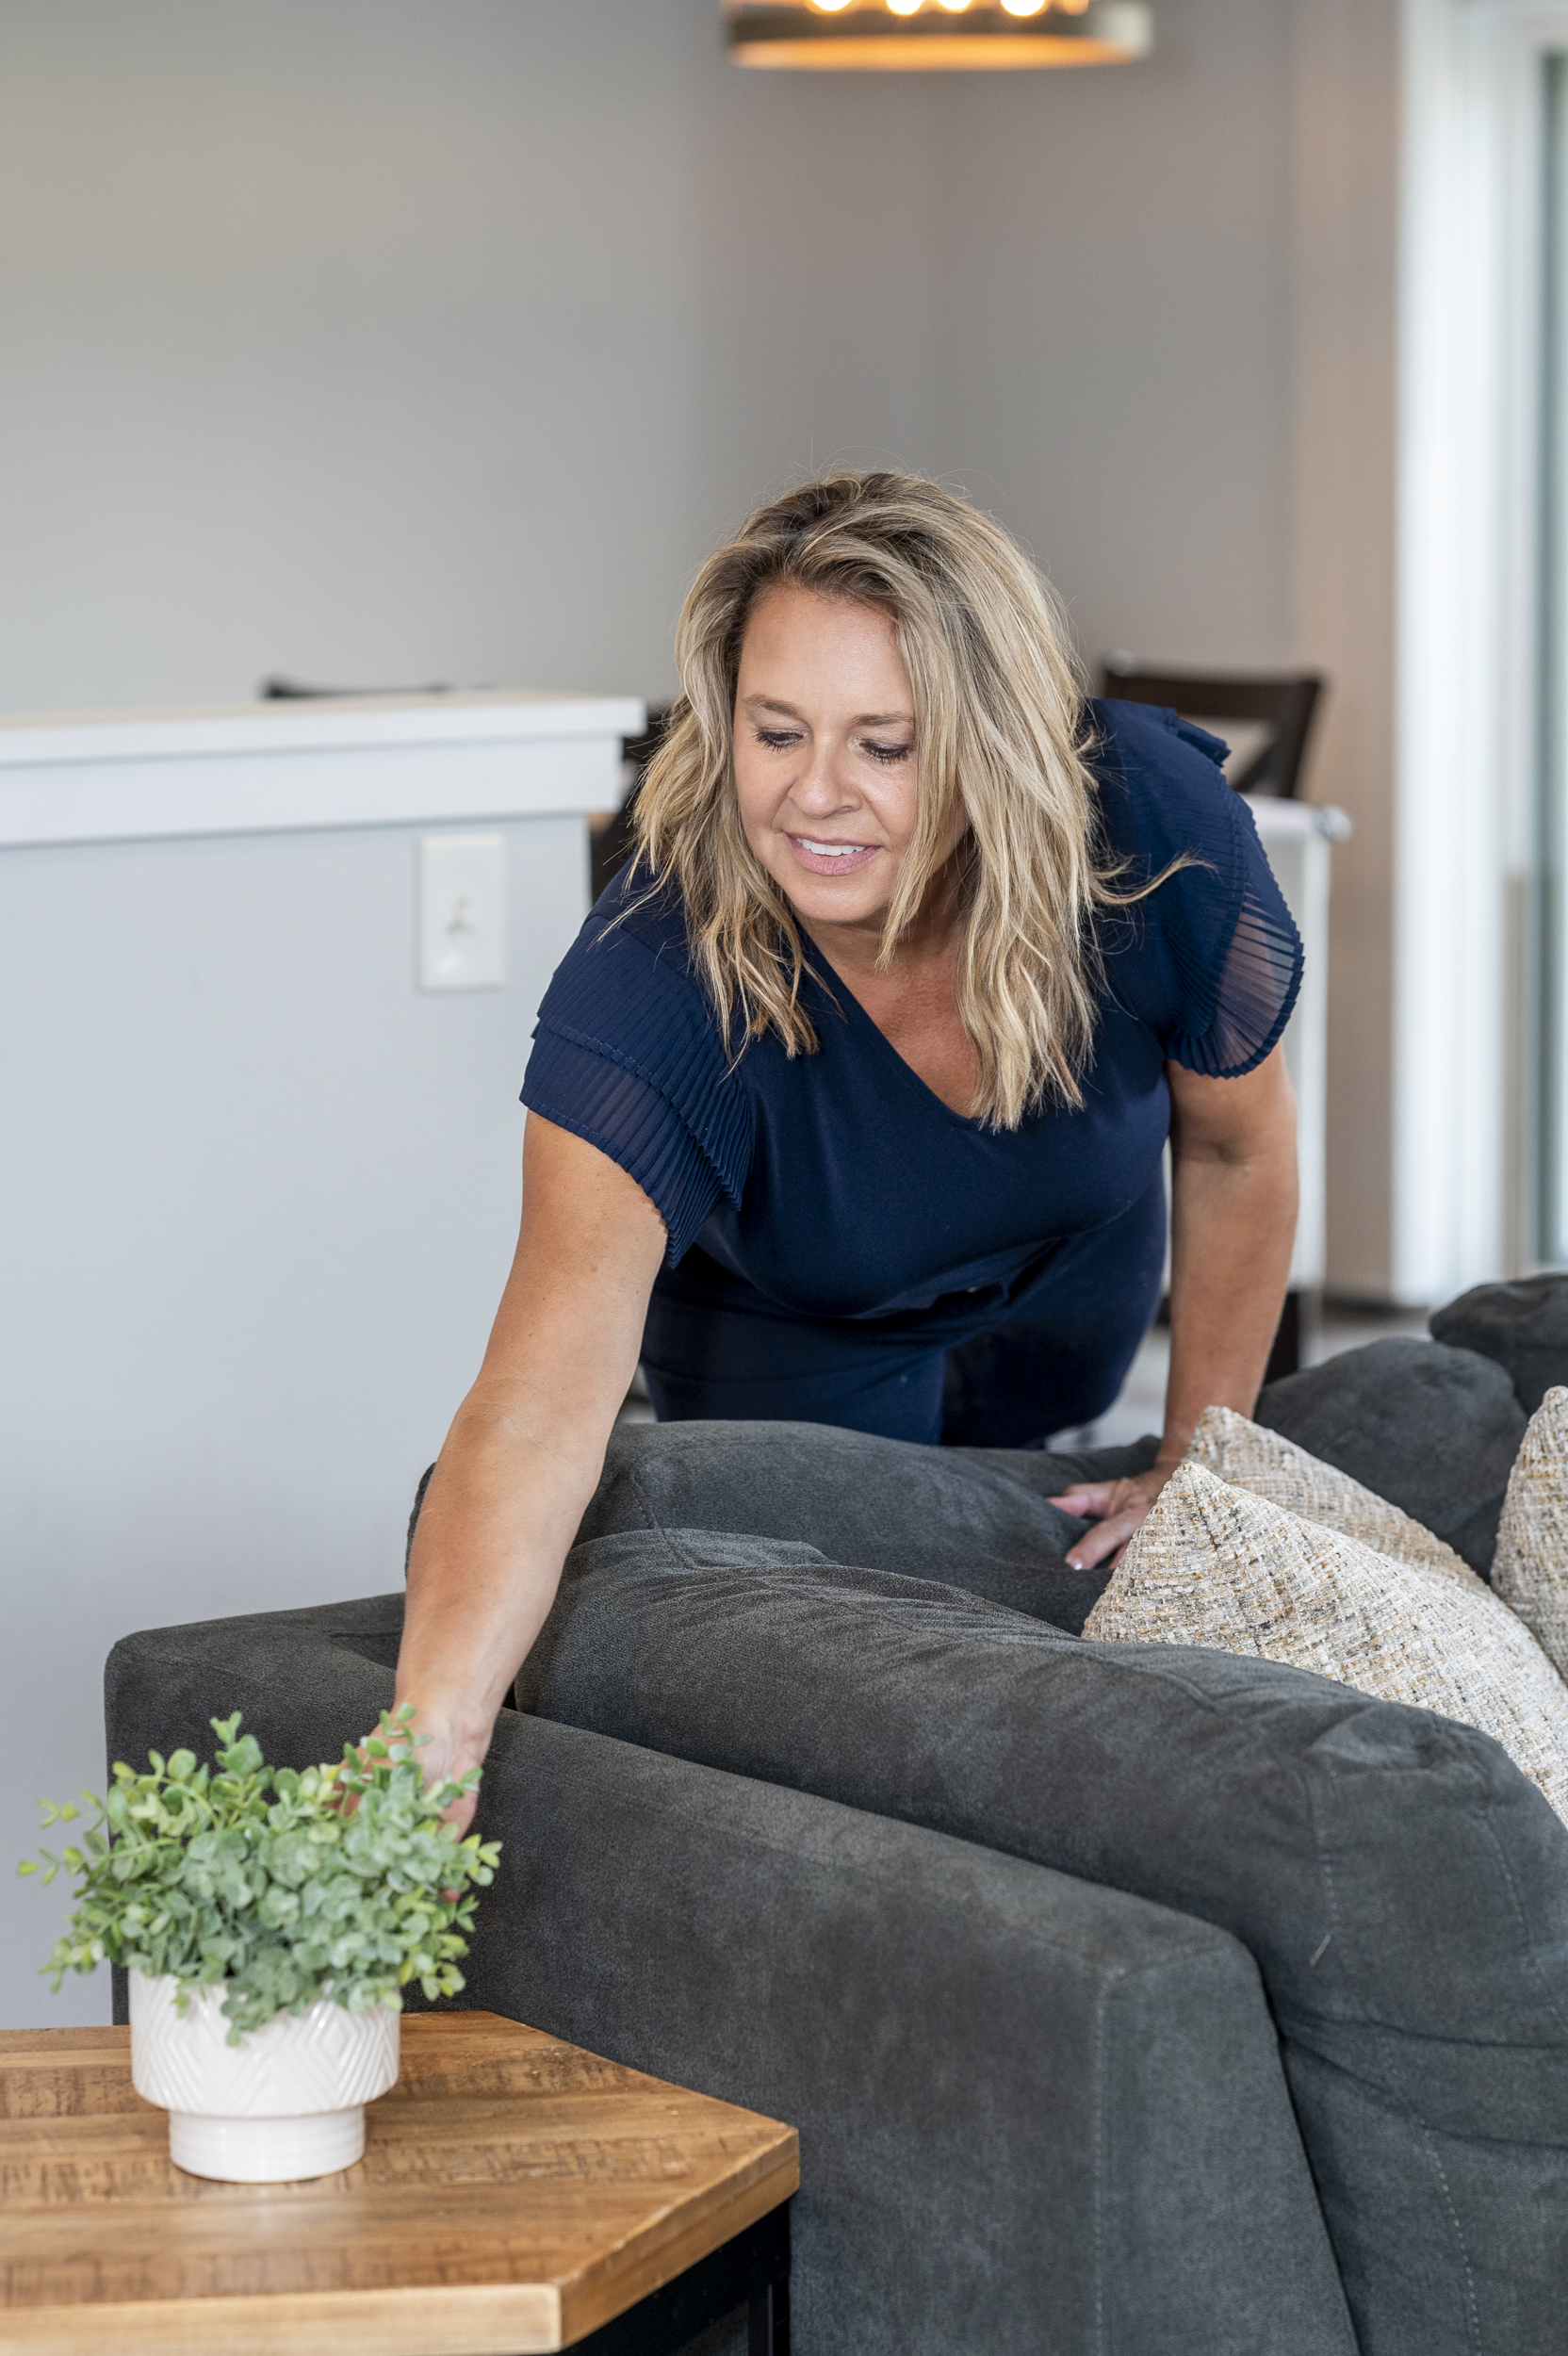
Finish small staging adjustments before the photographer arrives.
Make beds and put away visible clothing. Clear bedside surfaces of medication, paperwork, and charging equipment. In children's rooms, remove visible school names, schedules, and other information you would not want published.
If a room has several uses, ask your broker which arrangement best represents it. Keep the presentation consistent with the room's actual use and the way the property will be described. Photography preparation should not hide damage or create a misleading impression of the space.
Clean windows and check the lighting plan
Clean accessible glass and remove fingerprints from doors and mirrors. Check working bulbs in fixtures that will be used, and tell your broker about lights that need repair.
Ask the photographer how they want blinds, curtains, and lamps arranged. Some rooms need a different approach because of glare or the light outside. Finish the cleaning first so those adjustments can be made without another round of work.
Avoid unsafe preparation. Do not climb onto a roof or use an unstable ladder to improve a photograph. Discuss inaccessible areas with the broker and use a qualified service when work requires it.
Prepare the approach and outdoor areas
Sweep the entry and clear the route to the front door. Put away tools, hoses, and loose packaging where practical. Arrange outdoor furniture so it is usable and tidy, and remove pet waste before the appointment.
Ask where vehicles and bins should go. Move them only where permitted and where they will not obstruct access or a neighbor's property. If a shared area is outside your control, tell the broker rather than assuming it can be rearranged.
In wet weather, leave time to deal with muddy entryways and wet outdoor cushions. Ask how weather changes will be handled if exterior photographs need to be rescheduled.
Remove personal information before photographs are made
Store mail, financial papers, family calendars, and medical information out of view. Look for visible passwords, security codes, and identifying information on screens or noticeboards. Secure valuables and any sensitive belongings before people arrive.
Check mirrors and reflective surfaces again once the rooms are arranged. Review family photographs and items with children's names as part of your privacy preferences. Tell your broker if there is something you do not want photographed so the concern can be addressed before the listing is prepared.
Finish with an access check
Before the appointment, confirm that the included rooms and any agreed storage or utility areas can be accessed safely. Let the broker know about locked doors or equipment that requires special handling.
Keep pets and their belongings away from the spaces being photographed, with a safe plan for the animals during the visit. Decide where occupants will be while the photographer works. Moving repeatedly from room to room can make it harder to finish the appointment.
Do a final pass for bins, laundry, dishes, and personal paperwork. Keep a small basket available for ordinary items that return to counters during the day, then store it somewhere outside the agreed photography areas.
Use the preparation for showings
Ask your broker which parts of the photo-day setup should remain for showings and which can return to daily use. A short reset list is easier to maintain than repeating the entire photography checklist before every visit.
The photographs and the in-person experience should give buyers a consistent understanding of the home. If the property's condition changes materially before launch, tell your broker so the marketing can be reviewed.
For help deciding what to do before listing, speak with a local broker and review the selling process. Keep price decisions separate from presentation work; our guide to pricing a Puget Sound home when inventory is rising explains that analysis.
Socials